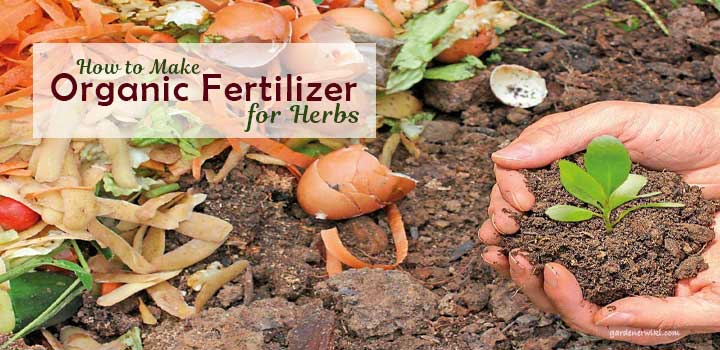
Herbs somewhat vary from regular conventional plants when it comes to consuming nutrients and applying fertilizers.
The best thing about herbs is that they do not require much fertilizing; usually, excess fertilization may lead to a surplus growth of the leaves, depriving the actual harvest of some essential features such as its fragrance and flavor.
However, when herbs are placed in organic gardens, it is an entirely different story. That’s why you need to learn how to make organic fertilizer for herbs.
And today, we’ll talk about this. So, keep reading.
How to Make Organic Fertilizer for Herbs
Let’s get to learn a few interesting ways of making your own fertilizers and how to use them:

Egg Shell Fertilizer
It is one of the most commonly used fertilizers, especially for herb plants. Due to the presence of calcium, eggshells primarily facilitate the cellular development of plants.
The shells are crushed into several smaller pieces and buried beneath the soil, as easy as that!
Banana Peel Fertilizer
Banana is known for its abundance of potassium, a very important nutrient for the growth of plants. In addition, banana peels are rich in calcium and phosphorous, which are great for flowering plants and fruit trees. The procedure is as easy as pie!
Banana peels are placed under the soil on the bed of the plant and left to decay, releasing these essential nutrients into the soil over time.
Epsom Salt Fertilizer
The chemical compound magnesium sulfate, typically known as Epsom salt, forms one of the best fertilizers for plants when mixed with water.
It is also very widely used for being so easy to make since all it needs is the compound to be added to water to form a salt solution. On top of that, Epsom salt is very affordable too, generally known as go-to fertilizers for tomatoes and orange.
Organic Tea Fertilizer
It may seem like a very odd process, but the results from organic tea fertilizers are stunning! To begin with, you need to mix one-fourth cup of Epsom salt (magnesium sulfate) with two cups of urine.
This mixture, in turn, is added to one or two cups of ash that you can easily extract from a wood stove or even a fireplace.
Finally, you add water to dilute this concentrated solution, and after adding some grass to it, the solution is left to steep for two to three days, after which it is added to the soil.
Coffee Grounds Fertilizer
Coffee grounds are the residues remaining after making coffee every time, and they are rich in nitrogen which assists in improving the acidity of the soil.
It is a fairly easy process to carry out because all you have to do is stow the coffee grounds into the soil at the foot of the plant!
Grass Clippings Tea
You can use the uprooted grass that results from mowing the lawn to make a promising solution rich in essential nutrients for the growth of plants.
The process is fairly straightforward; you have to place the clipped grasses onto a bucket and add water to it.

Then, it is left to sit for a few days, ideally four to five days. When the solution is ready, add some more water in order to dilute it while maintaining the ratio, and finally pour it into the soil around the plants.
Gelatin Fertilizer
Interestingly, gelatin is a rich source of nitrogen! Moreover, gelatin is not only inexpensive, but it is readily available as well.
Gelatin is dropped into a cup of hot water to make this fertilizer. To this, in turn, a cup of cold water is added, and you have your gelatin fertilizer ready to be poured onto the soil.
Molasses Fertilizer
Molasses is basically the remnant from the process of making sugar, a thick syrup that you use as a sweetener. Plants need microbes to grow and be in good shape, and molasses are a rich contributor to the soil’s microbes.
This can be done by mixing molasses with a little bit of water and then pouring this solution evenly throughout the soil.
Seaweed Fertilizer
This is a rather rare fertilizer, primarily beneficial to people living around the sea since they have access to fresh seaweed. However, the fertilizer can also be made from purchased dried seaweed.
Seaweed is used as a fertilizer due to the ample availability of mannitol; low-calorie sugar alcohol increases plants’ potential to absorb nutrients from the soil.
A bucket is half-filled with water (preferably rainwater) to begin the process, and chopped seaweed is placed into the water.
This bucket is left to steep for approximately three weeks. Finally, when the solution is ready, water is added to dilute it in a fifty-fifty ratio, preparing the seaweed fertilizer.
Vinegar Fertilizer
When it comes to herb plants, vinegar can serve as a good fertilizer. The presence of acetic acid in vinegar makes it a good fertilizer for houseplants and vegetable plants as well.
Vinegar fertilizer is made by adding a tablespoon of white vinegar into a gallon of water; however, it is recommended to apply this fertilizer once every three months for optimal results.
Conclusion
Discussed above are some of the most widely used and uncomplicated methods on how to make organic fertilizer for herbs.
However, it is very important to note that fertilizer for herb plants are quite different from fertilizing herbs in the organic garden.
While it is recommended for regular herb plants to be fertilized at large intervals, weeks or sometimes even months apart, the plants in the organic garden require recurrent fertilizing to be taken care of.
For instance, fertilizing herbs focus entirely on providing the plants with adequate nutrients to ensure proper development and robustness.
On the other hand, herb plants in the organic garden must be fertilized at lower amounts but at a more frequent rate than regular herb plants for best outcomes.